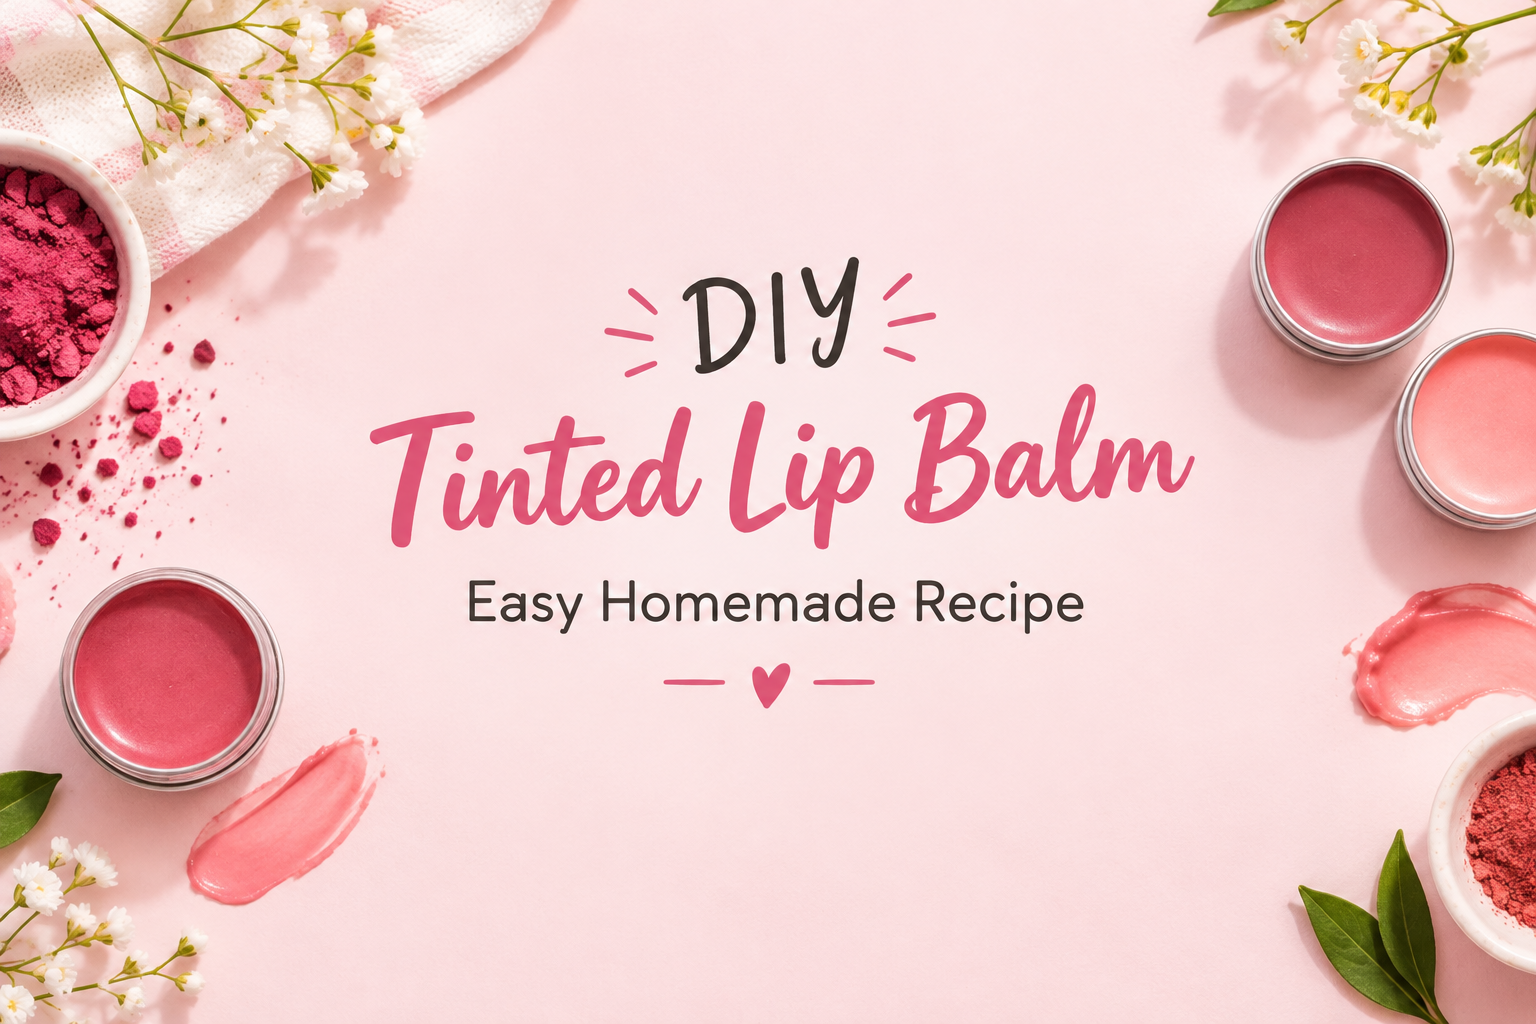
Want soft, moisturized lips with a beautiful hint of color without spending money on expensive lip products? Making your own DIY tinted lip balm is a simple and fun way to create a lip care product that suits your preferences. With a few carefully selected ingredients, you can make a homemade tinted balm that adds a subtle pop of color while helping your lips feel smooth and comfortable.
Whether you love a soft pink tint, a natural rosy shade, or a hint of peach, this easy homemade recipe lets you customize the color and texture to your liking. You can also adjust the ingredients to create a balm that feels lighter or richer on your lips.
In this guide, you will learn how to make tinted lip balm at home, which ingredients to choose, how to customize the shade, and how to store your finished product properly.
Table of Contents
1. What Is DIY Tinted Lip Balm?
DIY tinted lip balm is a homemade lip care product that combines moisturizing ingredients with a small amount of color. Unlike traditional lipstick, which is usually designed to provide more noticeable color, tinted lip balm offers a softer finish while helping keep your lips moisturized.
You can make it using ingredients such as beeswax, shea butter, coconut oil, and suitable cosmetic-grade colorants. The result is a customizable balm that can provide a natural-looking tint without the heavy feel of some lip color products.
One of the best things about making your own lip balm is that you control the ingredients and the shade. You can create a barely-there pink tint for everyday wear or a deeper rosy color for a slightly more noticeable finish.
However, homemade products are not automatically safer or more effective than store-bought ones. Choose ingredients intended for cosmetic use, keep your tools clean, and avoid ingredients that may irritate your lips.
2. Benefits of Making Tinted Lip Balm at Home
There are several reasons to try making a homemade tinted lip balm.
Customizable Color
You can adjust the color to match your personal style. A small amount of lip-safe pigment can create a sheer tint, while a little more can produce a richer shade.
Helps Keep Lips Moisturized
Ingredients such as shea butter and coconut oil help soften the lips and reduce moisture loss. Beeswax can also form a protective layer that helps keep the lips comfortable.
Simple Ingredients
Making your own balm allows you to select the ingredients you prefer. This can be useful if you want to avoid particular fragrances or unnecessary decorative additives.
Always remember that natural ingredients can still cause allergic reactions or irritation.
Budget-Friendly DIY Project
If you already have suitable ingredients at home, making a small batch can be an affordable beauty project. You can also reuse a properly cleaned, cosmetic-safe container.
Convenient for Everyday Use
A tinted balm offers a simple way to add a little color without following a full lipstick routine. Keep it in your makeup bag for convenient application throughout the day.
3. Ingredients You Need for Homemade Tinted Lip Balm
Before starting your DIY tinted lip balm recipe, gather the following ingredients.
| Ingredient | Amount | Purpose |
|---|---|---|
| Beeswax pellets | 1 teaspoon | Helps the balm hold its shape |
| Shea butter | 1 teaspoon | Helps soften and condition lips |
| Coconut oil | 1 teaspoon | Adds a smooth, emollient texture |
| Lip-safe cosmetic pigment | A tiny amount, as directed | Provides the desired tint |
You will also need a small heat-safe bowl, a saucepan for a water bath, a clean stirring utensil, and a clean, dry lip balm container.
Choosing Your Ingredients
Beeswax: Beeswax helps create a firmer balm. If you prefer a vegan formula, you can experiment with a suitable cosmetic-grade vegan wax, following its recommended usage instructions.
Shea butter: This ingredient gives the balm a creamy feel and helps soften dry-feeling lips.
Coconut oil: Coconut oil helps create a smooth texture. If you are sensitive to coconut-derived ingredients, choose a suitable alternative.
Cosmetic pigment: Use only a colorant specifically approved for use on the lips in your region. Not every mica, craft pigment, food coloring, or cosmetic colorant is suitable for lip products. Follow the supplier’s usage limits.
Do not add fresh beet juice, fruit juice, or other water-based ingredients to this simple oil-based recipe. They can introduce moisture and increase the risk of microbial growth.
4. DIY Tinted Lip Balm Recipe: Step-by-Step Instructions
Follow these steps to make your own tinted lip balm at home.
Step 1: Prepare Your Workspace
Wash your hands and clean your utensils and container thoroughly. Allow everything to dry completely before starting.
Keeping water out of the mixture is important because this basic recipe is an oil-based balm without a preservative system designed for water-containing products.
Step 2: Measure the Ingredients
Measure one teaspoon each of beeswax pellets, shea butter, and coconut oil.
Place the ingredients in a small heat-safe bowl. Measuring carefully helps you achieve a more consistent texture.
Step 3: Melt the Ingredients
Place the bowl over a saucepan containing gently simmering water. Make sure the bottom of the bowl does not touch the water.
Stir gently as the beeswax, shea butter, and coconut oil melt together. Remove the bowl from the heat once the mixture is smooth.
Be careful when handling the hot bowl, and avoid overheating the oils.
Step 4: Add Your Lip-Safe Colorant
Allow the mixture to cool slightly while remaining liquid. Add a very small amount of suitable lip-safe cosmetic pigment, following the supplier’s instructions.
Stir thoroughly so that the color distributes evenly throughout the mixture.
Start with less color than you think you need. You can adjust the shade in a small test portion before filling your container.
Step 5: Test the Texture
Place a tiny drop on a clean, heat-safe surface and allow it to cool completely.
Check whether the balm feels too hard, too soft, or suitable for your preference. If you change the formula, make small adjustments and test again before filling the final container.
Remember that the finished balm may feel slightly different once it has completely cooled.
Step 6: Pour Into a Container
Carefully pour the liquid mixture into your clean, dry lip balm pot or suitable container.
Work slowly to avoid spills. Because the mixture can be hot, keep it away from children and handle it carefully.
Step 7: Let It Cool Completely
Leave the container undisturbed until the balm has fully solidified. Avoid sealing or using it while it is still hot.
Once cooled, your homemade tinted lip balm is ready for a small patch test and personal use.
5. How to Customize Your Lip Balm Color
One of the most enjoyable parts of this DIY beauty project is choosing your shade.
Soft Pink Tint
Choose a lip-safe pink cosmetic pigment and begin with a very small amount. This can create a delicate tint that works well with a simple everyday makeup routine.
Natural Rosy Tint
A suitable rosy or rose-toned pigment can give your balm a more noticeable pink-red appearance. Adjust the amount gradually until you reach your preferred shade.
Peachy Tint
Use a lip-approved peach or warm-toned cosmetic colorant to create a softer, warmer look.
Deeper Berry Tint
A berry-toned lip-safe pigment can create a richer finish. Keep in mind that the final shade depends on the pigment’s concentration and the natural color of your lips.
Important: Always use pigments approved for lip use. Do not assume that an eyeshadow, craft glitter, food coloring, or any product labeled “natural” is appropriate for applying to your lips.
6. Tips for Making the Best Homemade Tinted Lip Balm
A few simple precautions can help you get better results.
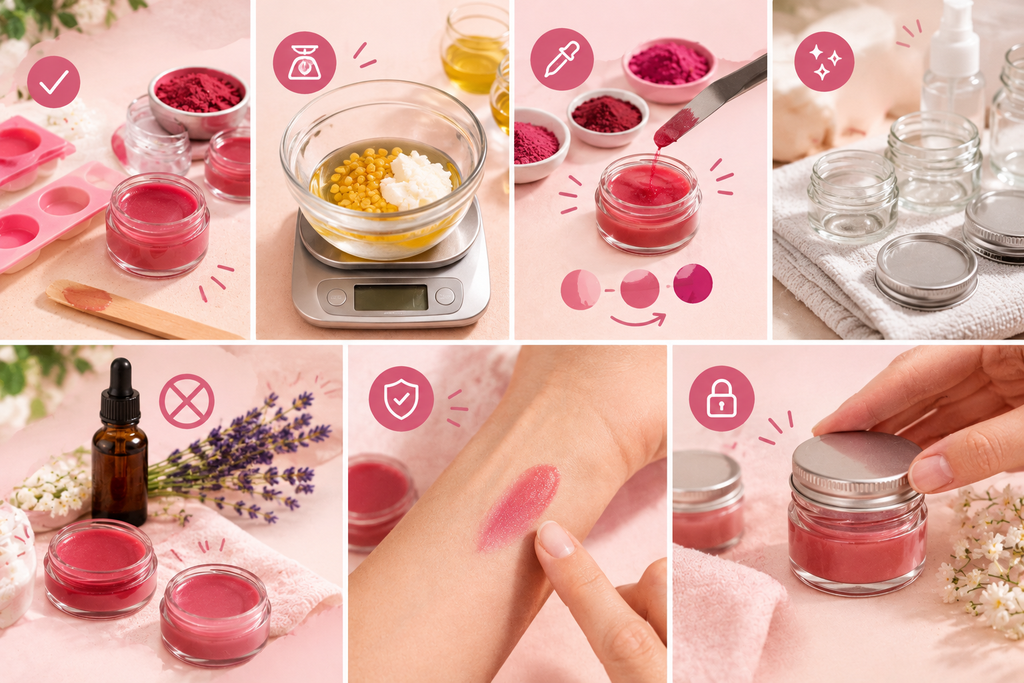
- Start with a small batch. This helps you test the texture and shade before making more.
- Measure carefully. Small changes in the wax-to-oil ratio can make the balm firmer or softer.
- Add color gradually. Too much pigment can make the product uneven or uncomfortable to apply.
- Use clean, completely dry equipment. This reduces avoidable contamination.
- Avoid unnecessary fragrance. Fragrances and essential oils can irritate sensitive lips, so leaving them out is a sensible choice.
- Test before regular use. Try a small amount on a limited area first and stop using the product if irritation develops.
- Keep the container closed. This helps protect the balm from dirt and everyday contamination.
If you want a complete beauty routine, you can pair your lip care with other simple self-care habits. For more inspiration, explore GlowHabit’s self-care routine for women.
7. Common Mistakes to Avoid
Even a simple homemade recipe can go wrong if you overlook a few details.
Adding Too Much Color
Excess pigment can produce a patchy finish or make the balm feel gritty. Use only an appropriate lip-safe colorant within its recommended limits.
Using Ingredients That Contain Water
Fresh juices and water-based ingredients can make an oil-only formula less stable. Avoid adding them unless you are developing a properly formulated product with appropriate preservation and testing.
Overheating the Mixture
Excessive heat is unnecessary and may affect the ingredients. Use gentle indirect heat and remove the bowl once everything has melted.
Skipping Hygiene
Dirty tools, wet containers, and repeated contact with unclean fingers can contaminate your product. Clean and dry your equipment before use, and avoid sharing your balm.
Expecting a Commercial Shelf Life
A homemade product has not necessarily undergone stability or microbial testing. Do not assume it will remain safe for months simply because it contains wax and oils. Discard it if its smell, appearance, or texture changes, or if you suspect contamination.
8. How to Store Homemade Tinted Lip Balm
Store your finished balm in a clean, dry, tightly closed container in a cool place away from direct sunlight and excessive heat.
Because this is a homemade product without formal stability testing, prepare small batches rather than making a large quantity to use over an extended period.
Always use clean hands or a clean applicator when taking balm from a pot. Avoid sharing it with others.
If the balm develops an unusual odor, visible changes, or a different texture, discard it. Remember that the absence of visible changes does not guarantee that a product is free from contamination.
Also, a tinted lip balm does not automatically provide sun protection. If you need protection outdoors, choose a lip product specifically formulated and labeled with an appropriate SPF.
9. Frequently Asked Questions
Yes. You can make a simple tinted balm using ingredients such as beeswax, shea butter, coconut oil, and an appropriate lip-safe cosmetic pigment. Work cleanly and use ingredients intended for lip products.
Use a cosmetic colorant specifically approved for lip use. Suitable options depend on the pigment and the regulations where you live. Avoid craft pigments, non-lip-safe mica, and ordinary food coloring unless the specific product is confirmed suitable for this application.
You can experiment with the balance of emollient oils and butters to create a softer-feeling balm. Make small test batches because increasing oils or butters can also change how firm the finished product is.
There is no universal shelf life for an untested homemade formula. Its stability depends on ingredient quality, preparation, packaging, and storage. Make small batches, use clean equipment, and discard the balm if you notice changes or suspect contamination.
You may use a well-tolerated balm as part of your daily lip care routine. However, homemade products can still cause irritation or allergic reactions. Stop using the balm if your lips become itchy, swollen, red, or uncomfortable.
10. Final Thoughts
Making your own DIY tinted lip balm is an enjoyable way to explore homemade beauty and customize a lip product to suit your preferences. With a few carefully selected ingredients, a suitable lip-safe colorant, and proper preparation, you can create a balm with a soft texture and a hint of color.
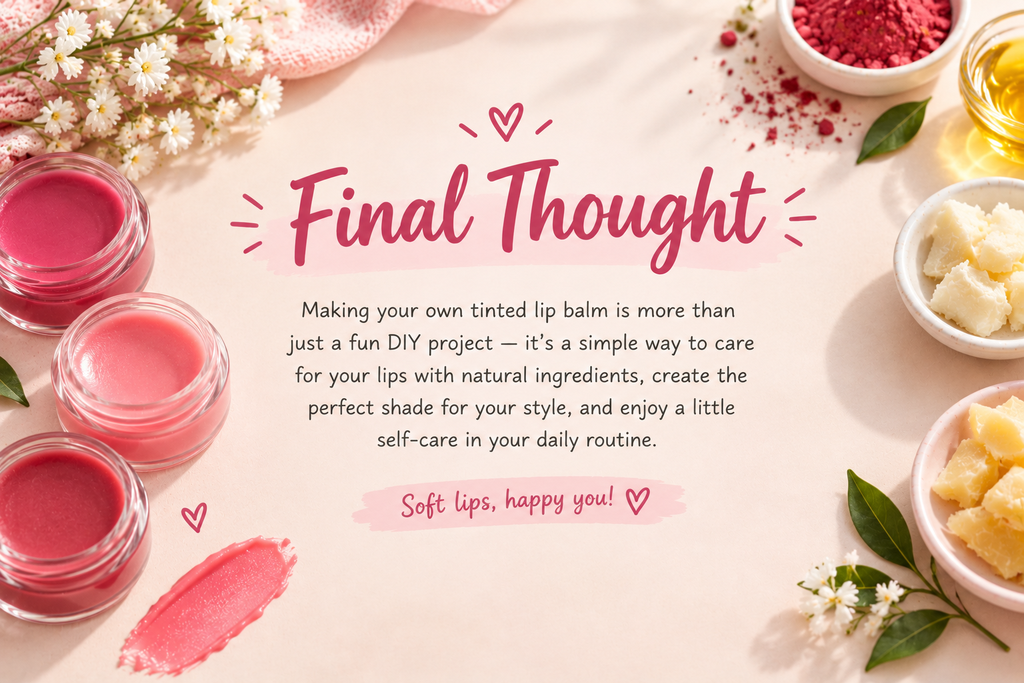
The key is to keep the recipe simple, pay attention to hygiene, and choose ingredients designed for use on the lips. Start with a small batch, experiment carefully with your preferred shade, and make adjustments only after testing the results.
Beautiful lip care does not have to be complicated. Sometimes, a few thoughtful ingredients and a simple routine are all you need to make your everyday beauty habits feel a little more special.
Enjoyed this DIY beauty recipe? Explore more skincare, beauty, and self-care tips on GlowHabit.